
PCB Mounting Techniques: Methods, Design & Best Practices

1. Introduction to PCB Mounting
1.1 What Is PCB Mounting
PCB mounting refers to the process of securing electronic components, connectors, and the circuit board itself within a mechanical enclosure or structure. This encompasses two distinct aspects: component-level assembly onto the board surface and mechanical fixing of the assembled PCB into its final housing. Effective PCB mounting directly impacts product reliability, serviceability, and long-term performance, making it a critical consideration in electronics design.
1.2 Industry Background and Trends
As electronic products grow in complexity with higher component densities and operating frequencies, PCB mounting strategies have evolved significantly. Modern designs demand mounting solutions that balance electrical performance, thermal management, and mechanical integrity. The selection of appropriate mounting methods now plays a decisive role in both manufacturing efficiency and end-product quality.
2. PCB Mounting Classification
PCB mounting can be categorized along two dimensions: component mounting technology and mechanical fixing methods. Each approach serves distinct functional requirements and application scenarios.
2.1 PCB Mounting by Technology Method

Surface Mount Technology (SMT)
SMT involves mounting components directly onto the PCB surface without drilling through-holes. This method enables higher component density, faster automated assembly, and improved high-frequency electrical performance. SMT is ideal for compact, high-density designs but requires precise placement equipment and carefully controlled reflow soldering processes.

Through-Hole Technology (THT)
THT inserts component leads through drilled holes in the PCB before soldering. This mounting approach provides superior mechanical strength and is well-suited for connectors, large components, and applications subject to significant vibration or mechanical stress. THT yields lower assembly density compared to SMT and requires more manual processing.
Mixed Technology Mounting
Many PCB designs combine SMT and THT on the same board to leverage the advantages of each approach. This hybrid mounting strategy allows engineers to optimize for both assembly efficiency and mechanical robustness, placing each component using the technology best suited to its functional requirements.
2.2 PCB Mounting by Mechanical Fixing Method
Screw and Standoff Mounting
Screw-based PCB mounting uses pre-drilled mounting holes with screws, standoffs, or nuts to secure the board. This method offers excellent rigidity and easy disassembly for maintenance. Proper design requires evenly distributed mounting points with adequate spacing to prevent board flexing under mechanical load.
Standoffs and Spacers
Standoffs maintain a fixed distance between the PCB and the chassis, facilitating airflow for thermal management and preventing electrical shorts. Material selection—whether nylon or metal—must balance mechanical strength requirements with electrical insulation needs based on the specific application.
Spring Clips and Snap-Fit Mounting
Snap-fit and spring clip mechanisms enable tool-free PCB mounting, significantly reducing assembly time. These methods suit applications requiring frequent access or field serviceability. However, clip-based mounting typically provides lower vibration resistance than threaded fasteners.
Adhesive and Tape Mounting
Double-sided tapes, foam adhesives, or structural adhesives can bond PCBs directly to enclosure surfaces. This approach conserves space and reduces hardware costs, making it attractive for constrained designs. Adhesive mounting offers less reliability than mechanical fixing under thermal cycling or vibration.
3. PCB Mounting Design Considerations
3.1 Early Planning for Mounting Features
Mounting provisions should be defined during schematic and layout stages rather than retrofitted later. Engineers must determine the number and location of mounting points based on PCB dimensions, weight, and anticipated mechanical stresses. Early integration prevents costly redesign cycles and ensures optimal structural support.
3.2 PCB Mounting Hole and Hardware Specifications
Standard mounting hole dimensions—such as those for M3 hardware—must account for tolerance stackup and clearance requirements. Design guidelines should specify copper clearance zones around holes, reinforced annular rings where needed, and appropriate insulation measures to ensure both mechanical integrity and electrical reliability.
3.3 Component Layout and Assembly Clearance
Adequate clearance between components, pads, and mounting holes prevents mechanical interference during assembly. Layout planning should also consider functional grouping and thermal zoning to ensure that PCB mounting hardware does not impede heat dissipation or signal integrity.
3.4 Thermal and Vibration Management in PCB Mounting
Mounting design must address both environmental vibration and thermal stress. High-power components require adequate clearance from rigid mounting points to allow heat dissipation. Strategic placement of mounting features can dampen resonant vibration modes and reduce mechanical fatigue over product life.
4. PCB Mounting Practice and Manufacturing
4.1 PCB Mounting Assembly Process Overview
A complete PCB mounting workflow includes solder paste printing, component placement, reflow or wave soldering, cleaning, and final mechanical integration into the enclosure. Each stage requires coordination between electrical assembly and mechanical mounting to ensure proper fit and function.
4.2 Quality and Reliability Control
Quality assurance for PCB mounting encompasses fastener torque verification, standoff contact inspection, and interference checking. Manufacturing checkpoints should confirm that all mounting hardware meets specification before final assembly to prevent field failures related to improper board fixation.
4.3 Inspection and Verification
Verification methods include visual inspection, functional testing, and mechanical checks to confirm secure PCB mounting and solder joint integrity. Systematic quality control at the mounting stage prevents downstream reliability issues and reduces warranty costs.
5. Common PCB Mounting Mistakes
Frequent errors include mounting hole placement conflicting with internal components, ignoring thermal expansion effects that cause stress concentrations, and selecting inappropriate fastener materials. Understanding these pitfalls helps designers avoid reliability problems stemming from inadequate mechanical mounting provisions.
6. Conclusion
PCB mounting encompasses both component assembly technologies and mechanical fixing methods, each requiring careful consideration during design. Proper mounting strategy directly influences product reliability, manufacturability, and service life. By addressing mounting requirements early and selecting appropriate techniques for each application, engineers can ensure robust, long-lasting electronic assemblies.

Recommended Posts
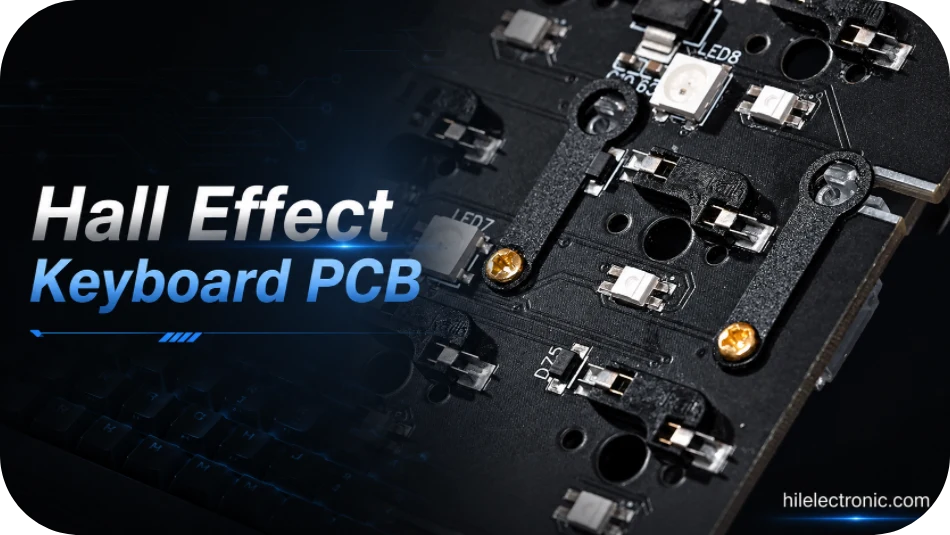
Hall Effect Keyboard PCB Manufacturing & PCBA
Table of contentsHall Effect Keyboard PCB Buying...
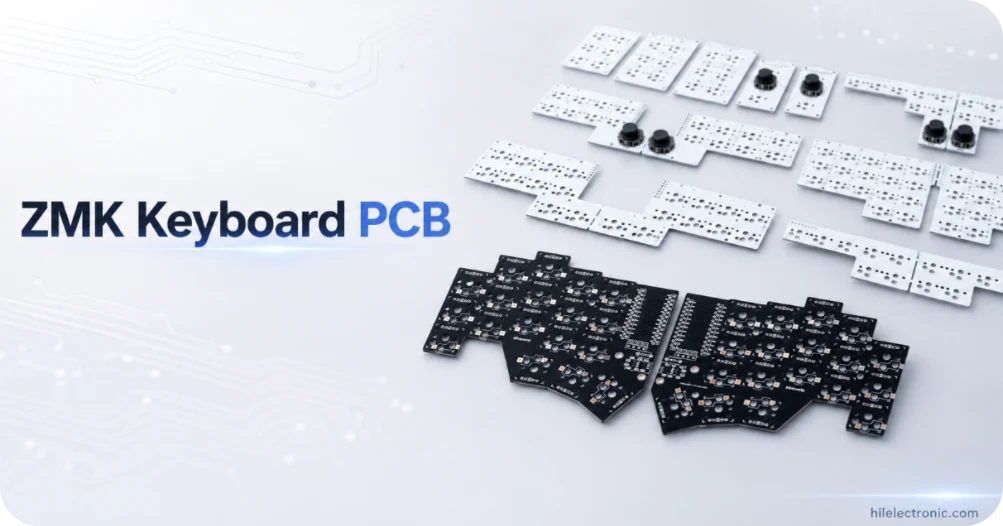
ZMK Keyboard PCB Manufacturing & Assembly
Table of contentsZMK Wireless Keyboard PCBA Procurement...
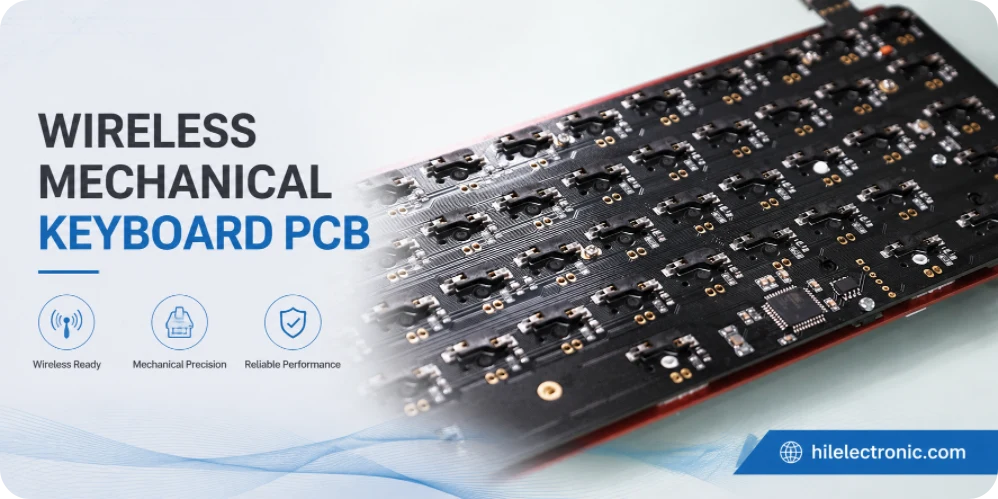
Wireless Mechanical Keyboard PCB Manufacturing
Table of contentsWireless Keyboard PCB Procurement...
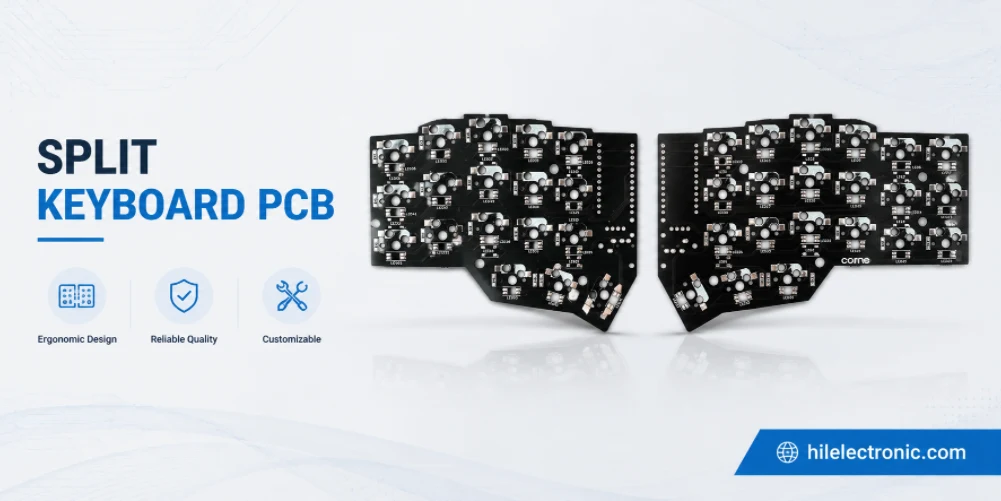
Split Keyboard PCB Manufacturing & Assembly
Table of contentsSplit Keyboard PCBA Procurement...
How to get a quote for PCBs
Let‘s run DFM/DFA analysis for you and get back to you with a report. You can upload your files securely through our website. We require the following information in order to give you a quote:
-
- Gerber, ODB++, or .pcb, spec.
- BOM list if you require assembly
- Quantity
- Turn time
In addition to PCB manufacturing, we offer a comprehensive range of electronic services, including PCB design, PCBA, and turnkey solutions. Whether you need help with prototyping, design verification, component sourcing, or mass production, we provide end-to-end support to ensure your project’s success.
For PCBA services, please provide your BOM (Bill of Materials) and any specific assembly instructions. We also offer DFM/DFA analysis to optimize your designs for manufacturability and assembly, ensuring a smooth production process.