
Back to blog
Mastering Staggered and Stacked Vias: Advanced PCB Design Techniques for High-Performance Electronics

An important part of modern PCB design is PCB drilling – small plated holes that connect different layers of a multi-layer PCB. Although simple in concept, through-holes can significantly affect the performance, reliability and manufacturability of a PCB, especially when vias are not carefully designed, such as not considering IPC3 standards, not considering drilling tolerances, etc., resulting in large holes and small solder rings when engineering produces Gerber files, which increases production difficulties, etc.
This comprehensive guide will take an in-depth look at two advanced through-hole technologies: staggered through-holes and stacked through-holes. We will explore their design principles, applications, advantages and potential challenges. By the end of this article, PCB designers, electronic engineers and technology enthusiasts will have a thorough understanding of how to use these technologies to create high-performance, reliable PCBs.
Understanding Vias: The Basics
Before diving into the intricacies of staggered and stacked vias, it’s important to establish a solid foundation by reviewing the basics of vias in PCB design.
Definition of a Via
A via is a plated hole that provides an electrical and thermal connection between different layers of a multi-layer PCB. Vias serve several crucial functions:
- Signal Routing: Vias allow signals to pass between different layers, enabling complex routing in compact designs.
- Power Distribution: They help distribute power and ground connections across the board.
- Thermal Management: Vias can act as heat conduits, helping to dissipate heat from components.
- Electromagnetic Shielding: Strategically placed vias can create a fence or cage to contain or exclude electromagnetic fields.
Types of Vias
There are three main types of vias:
- Through-Hole Vias: Extend through all layers of the PCB.
- Blind Vias: Connect an outer layer to one or more inner layers but do not pass through the entire board.
- Buried Vias: Connect inner layers without reaching the outer layers.
Each type has its own advantages and use cases, which we’ll explore in more detail later.
Via Parameters
Several key parameters define a via’s characteristics:
- Drill Size: The diameter of the hole drilled for the via.
- Pad Size: The diameter of the copper pad surrounding the via.
- Aspect Ratio: The ratio of the board thickness to the via hole diameter.
- Plating Thickness: The thickness of the copper plating inside the via hole.
- Via Tenting: A process where the via is covered with solder mask to prevent solder from wicking into the hole during assembly.
Staggered Vias: Enhancing Signal Integrity and Thermal Performance
Defining Staggered Vias
Staggered vias involve placing multiple vias in an offset pattern rather than directly on top of each other. This arrangement offers several advantages over traditional via placement.
Benefits of Staggered Vias
- Improved Signal Integrity: By reducing the mutual inductance between vias, staggered arrangements help maintain signal quality, especially in high-speed designs.
- Enhanced Thermal Management: Staggered vias distribute heat more evenly across the board, preventing localized hot spots.
- Increased Reliability: The staggered pattern reduces stress on the PCB material, potentially increasing the board’s lifespan.
- Better Power Distribution: For power and ground planes, staggered vias provide more uniform current distribution.
Designing with Staggered Vias
When implementing staggered vias, consider the following design guidelines:
- Via Spacing: Calculate the distance between vias based on signal frequencies and board material properties.
- Pattern Design: Common staggered patterns include triangular and diamond arrangements. Choose based on specific design requirements and available space.
- Layer Transition: Plan layer transitions carefully to maintain consistent impedance and minimize reflections.
- Simulation: Use electromagnetic field simulators to optimize the staggered via design for your specific application.
Example Calculation for Via Spacing
For a PCB with a dielectric constant (Er) of 4.2 and a maximum frequency of 10 GHz, the minimum via spacing can be estimated using the formula:

This calculation provides a starting point, but actual spacing should be verified through simulation and testing.
Advanced Staggered Via Techniques
- Differential Pair Routing: Staggered vias help maintain pair symmetry and reduce skew when routing differential pairs.
- Via-in-Pad: Combining staggered vias with via-in-pad technology reduces the PCB footprint while maintaining performance.
- Backdrilling: For very high-frequency applications, backdrilling staggered vias can improve signal integrity by removing unused portions of the via barrel.
- Adaptive Via Patterns: Some advanced PCB design tools can automatically generate optimized staggered via patterns based on signal integrity and manufacturability constraints.
Challenges and Considerations
While staggered vias offer numerous benefits, they also present challenges:
- Increased Design Complexity: Implementing staggered vias requires careful planning and sophisticated design tools.
- Manufacturing Considerations: Some PCB manufacturers may have limitations on minimum via spacing or specific requirements for staggered via patterns.
- Impedance Control: Maintaining consistent impedance across staggered via transitions can be challenging.
- Cost: The increased complexity of staggered via designs may lead to higher manufacturing costs, especially for high-volume production.
Stacked Vias: Maximizing Vertical Connectivity in High-Density Designs
Stacked vias involve placing multiple vias directly on top of each other, connecting three or more layers in a vertical stack. This technique is particularly useful in high-density designs where board real estate is at a premium.
Advantages of Stacked Vias
- Space Efficiency: Stacked vias occupy less horizontal space, allowing for more compact designs.
- Improved Electrical Performance: Direct vertical connections reduce signal path length, potentially improving high-frequency performance.
- Enhanced Thermal Management: Stacked vias create efficient thermal paths from inner to outer layers.
- Simplified Layer Transitions: Stacked vias provide a more direct path for signals that need to traverse multiple layers.
Designing with Stacked Vias
Consider several factors when implementing stacked vias:
- Aspect Ratio: The overall aspect ratio of the stacked via structure must be within manufacturability limits. A common rule is to keep the aspect ratio below 10:1.
- Plating Challenges: Ensure consistent plating through a tall stack of vias. Collaborate with your PCB manufacturer to understand their capabilities and limitations.
- Thermal Considerations: While stacked vias improve thermal management, they can create localized hot spots. Thermal simulation may be necessary for high-power designs.
- Stress Management: The different thermal expansion coefficients of copper and PCB substrate materials can lead to stress in stacked via structures, crucial for designs undergoing thermal cycling.
Example Calculation for Maximum Stacked Via Height
Assuming a minimum drill size of 0.2 mm and a maximum aspect ratio of 10:1, the maximum stacked via height would be:
For a typical PCB with 0.1 mm thick layers, this means stacking vias through up to 20 layers. However, practical limitations often restrict stacking to fewer layers.
Advanced Stacked Via Techniques
- Stacked Micro Vias: For ultra-high-density designs, stacked micro vias (typically less than 0.15 mm in diameter) can be used, requiring specialized manufacturing processes.
- Staggered-Stacked Vias: This hybrid approach combines the benefits of both staggered and stacked vias, balancing vertical connectivity and reliability.
- Filled Vias: Vias can be filled with conductive or non-conductive materials to improve reliability and enable direct component placement.
- Laser-Drilled Vias: Laser drilling provides more precise and consistent results for very small diameter vias in stacked configurations.
Reliability Concerns and Mitigation Strategies
Stacked vias can present reliability challenges, particularly in harsh environments or applications with frequent thermal cycling:
- Barrel Cracking: Different thermal expansion rates of copper and PCB substrate can lead to stress and eventual cracking of the via barrel.
- Plating Voids: Inconsistent plating in tall stacked via structures can create voids, potentially leading to open circuits.
- Pad Separation: In extreme cases, stress on stacked vias can cause via pads to separate from the PCB layers.
Mitigation strategies include:
- Use Tear Drop Pads: Adding teardrop-shaped reinforcements to via pads improves mechanical strength.
- Implement Thermal Relief: Use thermal relief connections for vias connected to large copper areas to reduce stress from differential thermal expansion.
- Consider Via Filling: Filling vias with conductive or non-conductive materials enhances mechanical strength and thermal performance.
- Perform Reliability Testing: Conduct thermal cycling and vibration tests to verify the reliability of the stacked via design.

Comparing Staggered and Stacked Vias
While both staggered and stacked vias offer advantages over traditional via placement, they serve different purposes and are suited to different design scenarios.
When to Use Staggered Vias
Staggered vias are particularly beneficial in situations such as:
- High-Speed Signal Routing: Reduced mutual inductance helps maintain signal integrity in high-frequency designs.
- Power Distribution Networks: Provide more uniform current distribution in power and ground planes.
- Thermal Management: Offer better heat distribution for designs where heat dissipation is a primary concern.
- Large Via Arrays: Provide better mechanical stability when many vias are needed in a confined area, such as for decoupling capacitors or BGA breakout.
When to Use Stacked Vias
Stacked vias are most advantageous in scenarios like:
- High-Density Designs: Provide necessary layer transitions in minimal horizontal space when board space is at a premium.
- Direct Vertical Connections: Offer the most direct path for signals that need to traverse many layers quickly.
- 3D Package Integration: Provide necessary vertical interconnects when integrating components like stacked die packages or 3D ICs.
- Improved Signal Performance: Improve signal quality in some high-frequency applications by shortening the electrical path.
Hybrid Approaches
In many advanced PCB designs, a combination of staggered and stacked vias optimizes performance, reliability, and manufacturability. Some hybrid approaches include:
- Staggered-Stacked Vias: Alternating between stacked and staggered sections balances the benefits of both techniques.
- Partial Stacking: Use stacked vias for critical high-speed signals while employing staggered vias for power distribution and less critical signals.
- Depth-Dependent Strategies: Implement stacked vias for shallow layer transitions and staggered vias for deeper transitions.
- Signal-Type Optimization: Use stacked vias for differential pairs to maintain pair symmetry, while using staggered vias for single-ended signals.
Manufacturing Considerations for Staggered and Stacked Vias
Implementing advanced via structures requires close collaboration with your PCB manufacturer. Key considerations include:
Drilling Technology
- Mechanical Drilling: Typically used for larger vias (>0.2 mm diameter). Cost-effective but with limitations in aspect ratio and positioning accuracy.
- Laser Drilling: Offers better precision and the ability to create smaller holes, especially in stacked configurations.
- Sequential Lamination: Necessary for implementing buried vias in stacked configurations.
Plating Processes
- Electroless Copper Plating: Deposits a thin layer of copper on the via walls, providing a conductive base for subsequent electroplating.
- Electrolytic Copper Plating: Builds up the copper thickness in the vias. Consistent plating in high aspect ratio vias can be challenging.
- Via Filling: For demanding applications, vias can be filled with conductive or non-conductive materials to improve reliability and planarity.
Inspection and Testing
- Automatic Optical Inspection (AOI): Verifies via placement and pad integrity.
- X-ray Inspection: Crucial for examining internal layers and detecting issues in buried or stacked vias.
- Time Domain Reflectometry (TDR): Verifies the electrical performance of vias, particularly important for high-speed designs.
- Cross-Sectioning: Destructive testing method used to verify via structure and plating quality.
Design for Manufacturing (DFM) Guidelines
When designing PCBs with staggered or stacked vias, consider these DFM guidelines:
- Follow Manufacturer Specifications: Adhere to your manufacturer’s design rules for minimum via size, aspect ratio, and spacing.
- Consider Annular Ring Size: Ensure sufficient annular ring to accommodate drilling tolerances and prevent breakout.
- Plan for Registration Tolerance: Allow for layer-to-layer registration tolerances when designing stacked vias.
- Use Standard Drill Sizes: Use standard drill sizes to reduce manufacturing costs where possible.
- Implement Teardrops: Adding teardrops to via pads can improve manufacturing yield and reliability.
Conclusion
Staggered and stacked vias represent key advances in PCB design technology, making it possible to create more compact, higher-performance electronic devices. By understanding the principles, applications, and manufacturing considerations of these advanced via technologies, PCB designers can push the boundaries of electronic design. Especially when high-density boards must use micro vias due to space limitations, solder joint size and network spacing must be considered, especially when the IPC3 standard is met. In addition to the spacing between different networks, the spacing between the heat sinks of the same network must also be considered, which simplifies the difficulty of CAM engineers in making files and is more conducive to the rapid generation of projects.
FAQs
1. How can PCB designers optimize Gerber files to reduce errors during CAM processing?
To minimize errors during CAM processing, designers should ensure that all design files are complete and consistent. This includes using standardized naming conventions for layers, ensuring that all necessary layers (e.g., copper layers, solder mask, silkscreen, and drill files) are included, and verifying that design rule checks (DRCs) are passed. Clear documentation and layer stack-up information should also be provided to the manufacturer.
2. What strategies can designers use to streamline the via placement in Gerber files for efficient CAM processing?
Designers should adopt a consistent via placement strategy that considers manufacturability and ease of processing. This includes specifying via sizes that align with standard manufacturing capabilities, maintaining adequate spacing between vias to avoid complications during drilling, and ensuring vias are correctly tented or filled as required by the design specifications. Consistency in via types (through-hole, blind, buried) and their documentation also aids in smoother CAM processing.
3. How should PCB designers handle layer alignment in Gerber files to facilitate precise CAM operations?
Accurate layer alignment is crucial for precise CAM operations. Designers should include clear registration marks and fiducials on all layers to aid in the alignment process. Ensuring that all layers are properly scaled and aligned within the design software before generating Gerber files helps prevent misalignment issues during manufacturing. Additionally, providing detailed layer stack-up information and alignment targets in the documentation can significantly aid the CAM engineer.
4. What are the best practices for defining trace widths and spacing in Gerber files to ease CAM processing?
To ease CAM processing, designers should adhere to the manufacturer’s recommended trace width and spacing guidelines. This involves setting minimum trace widths and spacing that meet the fabrication capabilities and ensuring these parameters are consistent throughout the design. Using automated design rule checks (DRCs) within the PCB design software can help maintain these standards and prevent issues during CAM processing.
5. How can designers ensure that Gerber files are compatible with the manufacturer’s CAM software?
Compatibility between Gerber files and the manufacturer’s CAM software can be ensured by following industry-standard formats and guidelines. Designers should generate Gerber files using the RS-274X format, which includes embedded aperture information, and provide an accompanying Excellon file for drill data. Including a detailed readme file that explains the layer structure, units of measurement, and any special instructions can also help the CAM engineer correctly interpret and process the files.

Recommended Posts

Comprehensive Guide to Plated Through-Hole (PTH) Technology in PCB Manufacturing
[pac_divi_table_of_contents title="On this article"...

High Density Interconnect PCB Guide | Highleap Electronics
[pac_divi_table_of_contents...
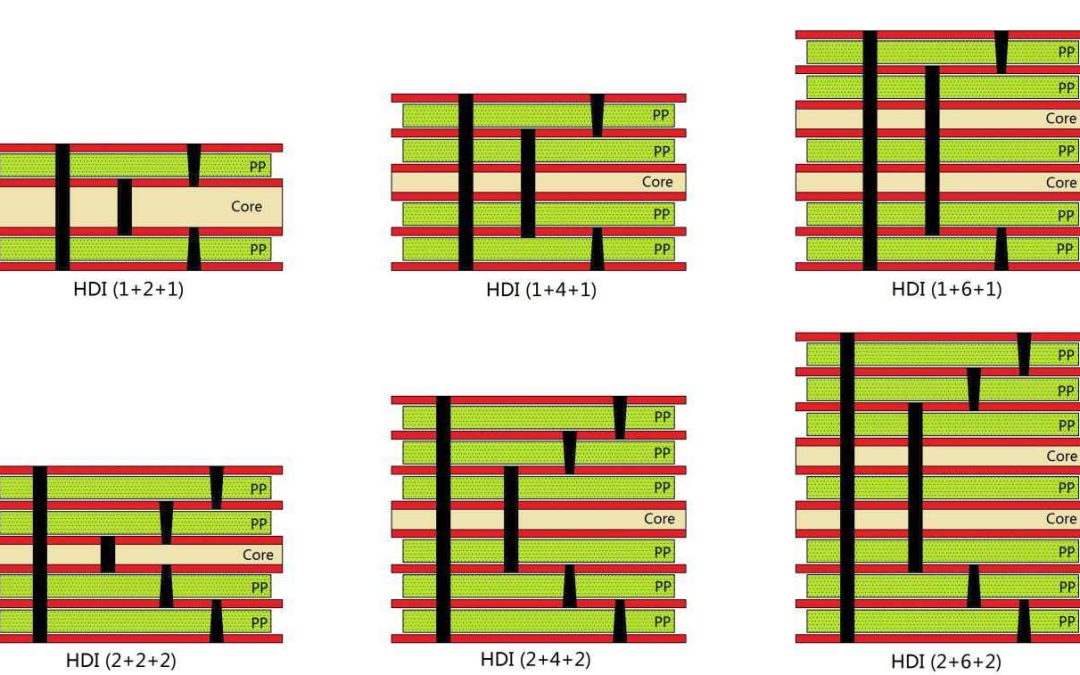
HDI Layout Best Practices: Key Design Tips for HDI Circuit Boards
HDI stack diagram in HDI circuit board factoryIntroduction...

Popular Science on Carbon Ink PCB Production Process Characteristics
Carbon Ink PCBIn the ever-evolving landscape of printed...
Take a Quick Quote