
How to Design High-Power LED PCB Using Metal Core Board

Introduction: Why LED Lighting Demands Metal Core PCBs
High-power LEDs face critical thermal management challenges that directly affect their brightness and lifespan. When junction temperatures exceed 150°C, LED efficiency can drop by more than 70%, making effective heat dissipation essential for stable optical performance.
Metal Core PCBs for LED lighting offer a proven solution by efficiently conducting heat away from the LED junction. Unlike standard FR4 boards with only 0.3 W/mK thermal conductivity, aluminum or copper MCPCBs deliver values between 1.0 and 8.0 W/mK, ensuring rapid thermal transfer and improved reliability.
This superior thermal performance allows LED systems to maintain consistent light output and color stability under high-power operation. Today, MCPCBs are widely used in automotive headlamps, tunnel and industrial lighting, and other demanding environments where long-term reliability is crucial.
As LED power density continues to rise—especially in COB (Chip-on-Board) designs generating heat flux above 50 W/cm²—using Metal Core PCBs has become indispensable for achieving safe operating temperatures and extending system lifespan.
Thermal and Electrical Fundamentals of Metal Core PCBs for LED Lighting
Understanding the Thermal Pathway
1. Heat Flow Structure
In Metal Core PCBs for LED lighting, heat travels from the LED junction through several layers to the heat sink. The path includes the solder joint, copper circuit layer, dielectric insulation, and finally the metal base substrate. Each layer contributes a portion of the total thermal resistance (Rth), which defines overall cooling efficiency.
2. Role of the Dielectric Layer
The dielectric layer is the most critical part of LED metal core PCB design because it must insulate electrically while allowing heat to flow efficiently. Advanced materials such as ceramic- or aluminum oxide–filled polymers provide thermal conductivity from 1.5 to 4.0 W/mK. Its thickness directly affects both heat transfer and breakdown voltage, making proper optimization essential for different LED applications.
Balancing Thermal and Electrical Performance
1. Dielectric Thickness Optimization
Thinner dielectric layers enhance thermal conductivity but reduce electrical isolation, while thicker layers increase insulation strength at the cost of heat flow. For low-voltage high power LED PCB assemblies under 60 V, 50–75 µm dielectric layers usually offer the best balance. High-voltage designs often require 100–150 µm for sufficient safety margins.
2. Copper and Metal Base Selection
The copper circuit layer also affects both current capacity and heat spreading. Standard 1–2 oz copper is adequate for most LED lighting designs, ensuring stable electrical performance and lateral heat distribution. The metal base—typically 1.0–2.0 mm aluminum—acts as the main heat spreader, distributing localized heat across a larger area before transferring it to external cooling structures.

Material Selection for High-Power Metal Core PCBs for LED Lighting
Metal Base Substrate Options
1. Aluminum as the Standard Choice
Aluminum remains the primary substrate for Metal Core PCBs for LED lighting due to its excellent balance of thermal conductivity (120–200 W/mK), low weight, and affordability. The AL5052 alloy is commonly used in LED applications for its mechanical stability and corrosion resistance, making it suitable for most lighting environments.
2. Copper for Extreme Thermal Performance
When maximum heat dissipation is required, copper bases provide superior thermal conductivity of 380–400 W/mK. However, their higher cost and density make them suitable mainly for high power LED PCB systems such as automotive headlamps and industrial fixtures with heat flux above 40 W/cm². General lighting applications typically achieve sufficient performance with aluminum substrates.
Dielectric Layer Engineering
1. Thermal and Electrical Role
The dielectric layer forms the key thermal bottleneck in LED metal core PCB design, as it must offer both electrical insulation and efficient heat conduction. Advanced materials with aluminum oxide or boron nitride fillers reach 3.0–4.0 W/mK while maintaining dielectric strength over 3000 V. Typical epoxy-based dielectrics with 1.5–2.0 W/mK meet the needs of most commercial lighting systems.
2. Reliability and Optimization
Dielectric materials should withstand thermal cycling and match the CTE of adjacent layers. A glass transition temperature above 150 °C is recommended for high-power LED operation. Thickness optimization remains critical—thin layers lower thermal resistance, while thicker ones improve voltage isolation. The ideal balance depends on LED power level and operating environment.
Surface Finish Selection for LED Applications
1. ENIG for Precision Assembly
ENIG (Electroless Nickel Immersion Gold) provides excellent solderability and oxidation resistance, making it ideal for aluminum PCB for LED modules requiring fine-pitch or multi-step assembly.
2. OSP and HASL Alternatives
OSP (Organic Solderability Preservative) offers a cost-effective finish for high-volume production with shorter storage life, while HASL (Hot Air Solder Leveling) ensures strong solder joints under repeated thermal cycling conditions.
Design Considerations for Metal Core PCBs for LED Lighting
Optimizing LED Placement and Heat Distribution
LED placement strategy strongly affects heat dissipation and reliability in Metal Core PCBs for LED lighting. Even spacing prevents thermal hotspots and ensures consistent light output.
- Uniform LED spacing – Maintain 8–10 mm between LED clusters to avoid overlapping thermal fields.
- Staggered layout for strips – Alternate LED positions along linear modules for even heat distribution.
- Thermal simulation – Use finite element analysis to predict hot spots and refine spacing or copper patterns before prototyping.
- Temperature target – Keep LED junctions below 120 °C for optimal luminous efficiency and lifespan in high power LED PCB designs.
Copper Trace and Thermal Pad Design
In LED metal core PCB design, copper patterns manage both current flow and lateral heat spreading. Proper geometry and copper weight selection greatly impact performance.
- Wide copper traces – Broaden traces near LED pads to enhance local heat spreading.
- Solid copper islands – Use direct-contact pads for COB packages to maximize thermal conduction.
- Optimized copper weight – 2 oz copper improves current capacity and heat spreading, though with higher cost.
- Trace width design – For power paths, maintain at least 0.4–0.6 mm width to safely handle current loads.
Thermal Via Integration
Although most Metal Core PCBs for LED lighting use single-layer construction, integrating thermal vias can enhance localized heat dissipation.
- Vertical heat conduction – Thermal vias filled with conductive epoxy or copper plating act as heat channels through the dielectric layer.
- Targeted cooling – Apply vias beneath multi-chip LEDs or power components where heat concentration exceeds lateral dissipation capacity.
Electrical Safety Considerations
Proper electrical clearance ensures safety and reliability in high power LED PCB assemblies, especially those operating at high voltages.
- Adequate creepage and clearance – Maintain 3–4 mm between high-voltage and LED circuits for 220 V AC applications.
- Solder mask insulation – Apply solder mask over exposed copper to prevent bridging and improve electrical isolation.
- Compliance with safety standards – Verify spacing rules according to voltage category and environmental conditions.
Prototyping and Testing Metal Core PCBs for LED Lighting Performance
Thermal Analysis and Validation Methods
1. Infrared Thermography and Hot Spot Detection
Thermal validation is essential to confirm the efficiency of Metal Core PCBs for LED lighting before mass production. Infrared thermography maps temperature distribution across the board, identifying hot spots, thermal gradients, and overall heat-spreading effectiveness.
2. Operating Condition Simulation
Testing should replicate real conditions—drive current, ambient temperature, and mounting configuration—to ensure accuracy. High-resolution thermal cameras (0.1°C) help monitor LED junction temperatures with precision.
3. Thermal Resistance Measurement
The junction-to-board thermal resistance (Rjb) quantifies heat transfer performance and is typically measured through forward voltage–temperature correlation. For high-power LED PCB designs, Rjb values below 5°C/W are ideal, though specific limits vary by LED power and thermal design goals.
Reliability Testing Protocols
1. Thermal Cycling and Mechanical Fatigue
Reliability testing subjects LED metal core PCB prototypes to thermal cycling between -40°C and 125°C for 500–1000 cycles, simulating years of service. Solder joint integrity is a primary concern due to mismatched thermal expansion among LED packages, copper, and aluminum substrates.
2. Failure Mode Analysis
Cross-sectioning after thermal cycling reveals potential failures such as:
- Dielectric delamination – separation between insulation and metal layers reduces heat dissipation.
- Solder joint cracking – repeated expansion stress leads to mechanical fatigue.
- Copper trace lifting – weak adhesion interrupts electrical and thermal pathways.
Power cycling tests, switching LEDs on and off repeatedly, further validate thermal robustness.
Performance Benchmarking
1. Temperature and Output Evaluation
Final testing confirms that LED junction temperatures remain below 120°C under rated power. Consistent temperature rise data verify that the Metal Core PCB design meets thermal management objectives.
2. Burn-in and Simulation Correlation
Extended burn-in testing monitors light output degradation as an indicator of thermal control effectiveness. Simulation results should align within 10–15% of measured values; larger deviations suggest modeling or manufacturing inconsistencies requiring correction before production release.
Achieving Reliable LED Performance through Optimized Metal Core PCBs
Integrated Approach to Thermal Design
Metal Core PCBs for LED lighting are vital for addressing the thermal demands of high-power illumination systems. Achieving reliability requires a holistic design approach that integrates thermal simulation, material selection, electrical performance, and manufacturability. The efficiency of the thermal pathway—from LED junction through the dielectric layer to the metal base—directly determines system stability and lifespan.
Core Design Principles
Effective LED MCPCB design centers on several key principles:
- Shortest thermal path – Direct heat conduction from the LED to the metal base minimizes junction temperature and enhances luminous efficiency.
- Uniform heat distribution – Balanced LED placement and optimized copper geometry prevent localized hot spots and extend service life.
- Material optimization – Proper dielectric, metal base, and surface finish selection ensures reliable thermal and electrical performance.
Aluminum substrates with thermally efficient dielectric layers meet most LED needs, while copper bases support extreme power density applications.
Ensuring Manufacturing and Validation Quality
Manufacturing precision strongly affects thermal performance. Collaborating with experienced MCPCB manufacturers ensures consistent layer bonding, copper adhesion, and surface treatment quality. Prototype validation—through thermal resistance measurement, cycling tests, and power-on evaluation—verifies design integrity before mass production, minimizing failure risks.
Partnering for Thermal Excellence
At Highleap Electronics, we specialize in producing high-performance Metal Core PCBs for LED lighting applications. Our engineering team provides design consultation, thermal simulation, and prototype fabrication to help customers achieve superior thermal control and long-term LED reliability. Contact us to discuss your LED MCPCB requirements and access our advanced thermal management expertise.

Recommended Posts
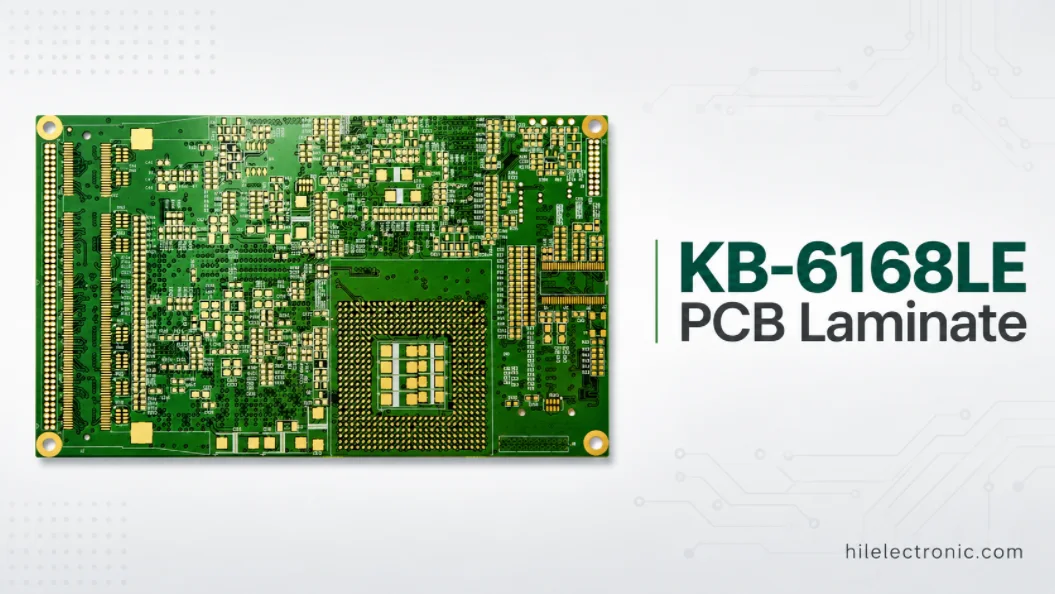
KB-6168LE PCB Laminate for Low Z-CTE Multilayer PCB Manufacturing
KB-6168LE PCB laminate is a Kingboard high-Tg, anti-CAF,...
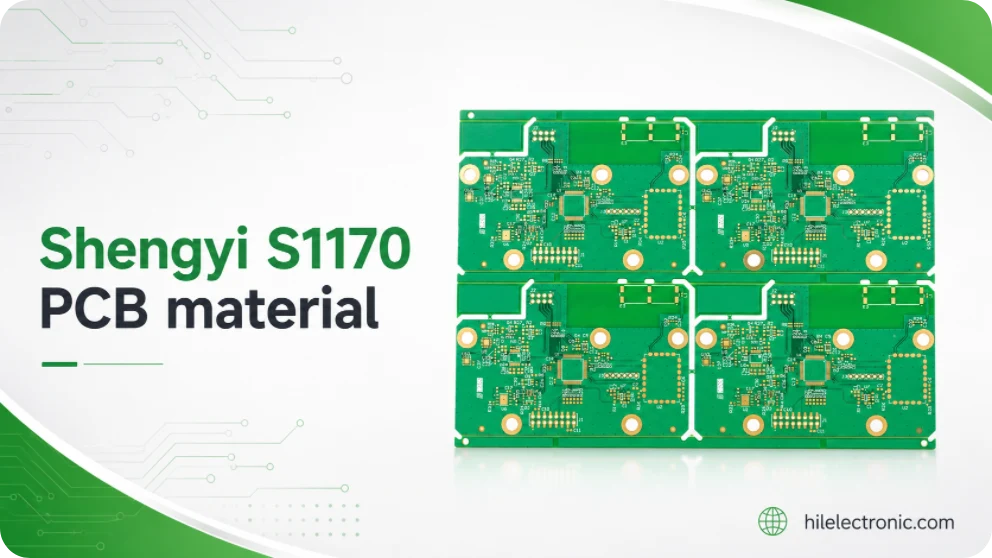
Shengyi S1170 PCB Material for High-Tg Lead-Free Multilayer PCB Manufacturing
Shengyi S1170 PCB material is a lead-free compatible,...
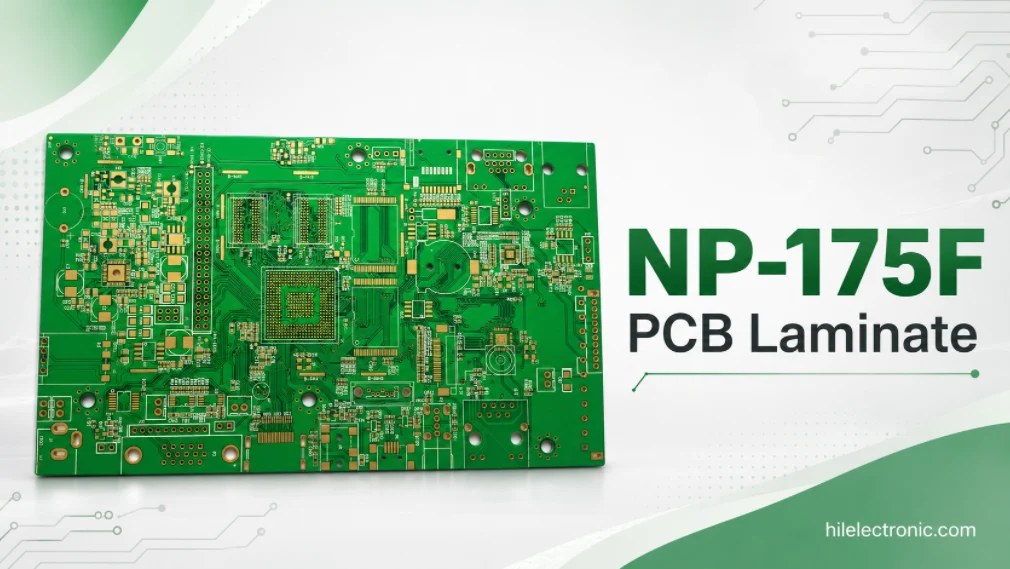
NP-175F PCB Laminate for High-Reliability Multilayer Boards
NP-175F PCB laminate is a Nan Ya high-Tg, filled...
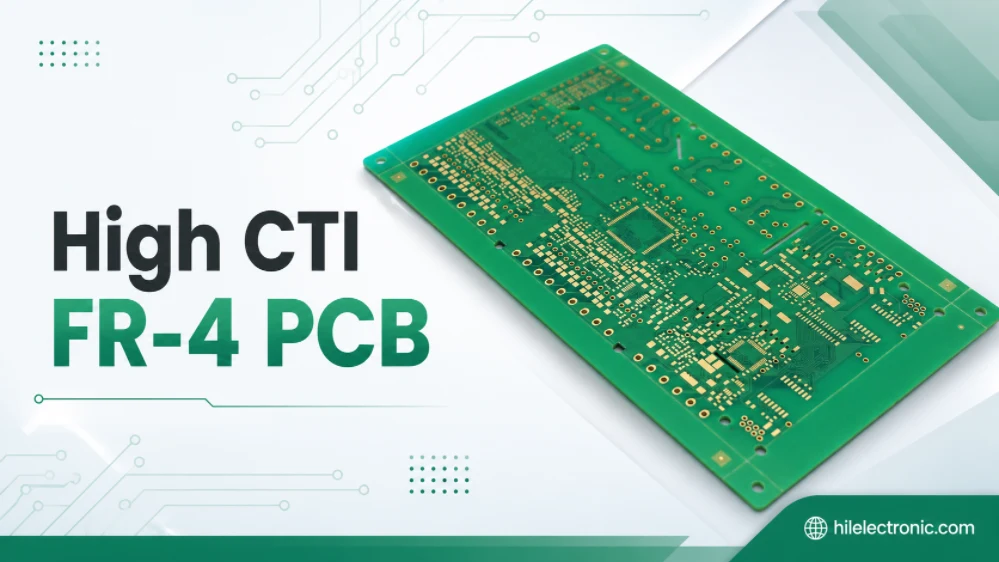
High CTI FR-4 PCB Manufacturing for Insulation-Critical Boards
High CTI FR-4 is used when a PCB design needs stronger...
How to get a quote for PCBs
Let‘s run DFM/DFA analysis for you and get back to you with a report. You can upload your files securely through our website. We require the following information in order to give you a quote:
-
- Gerber, ODB++, or .pcb, spec.
- BOM list if you require assembly
- Quantity
- Turn time
In addition to PCB manufacturing, we offer a comprehensive range of electronic services, including PCB design, PCBA, and turnkey solutions. Whether you need help with prototyping, design verification, component sourcing, or mass production, we provide end-to-end support to ensure your project’s success.
For PCBA services, please provide your BOM (Bill of Materials) and any specific assembly instructions. We also offer DFM/DFA analysis to optimize your designs for manufacturability and assembly, ensuring a smooth production process.