
Common Anode and Common Cathode 7 segment displays

Applications of 7-segment displays
What is a 7-Segment Display?
A 7-segment display is an electronic device used to display decimal numerals and some alphabets. It consists of seven individual segments arranged in a rectangular fashion, each of which can be illuminated independently to form numbers and some letters. These segments are typically labeled as ‘a’ through ‘g’, with an optional dot (dp) for decimal points.
Structure of a 7-Segment Display
A standard 7-segment display comprises seven LED segments and an optional eighth segment for the decimal point. Each segment is controlled separately, allowing for the representation of numerals from 0 to 9 and some alphabetic characters.
Types of 7-Segment Displays
- Common Anode (CA): In common anode displays, all the anodes (positive terminals) of the LED segments are connected together, and the individual cathodes (negative terminals) are connected to the control circuit.
- Common Cathode (CC): In common cathode displays, all the cathodes (negative terminals) of the LED segments are connected together, and the individual anodes (positive terminals) are connected to the control circuit.
Choosing Between Common Anode and Common Cathode
Selecting the right type of 7-segment display—common anode (CA) or common cathode (CC)—depends largely on your circuit design and driving method. While both perform the same fundamental function, their wiring logic and compatibility with control circuits differ:
- Common Anode (CA):
All anodes are tied to a positive voltage, and each segment is activated by pulling its cathode low (to ground). This configuration is often preferred when using low-side switching drivers such as transistors or open-collector outputs. - Common Cathode (CC):
All cathodes are tied to ground, and segments are turned on by applying a positive voltage to their anodes. This makes them easier to interface with microcontrollers or driver ICs that source current on their output pins.
Key Considerations When Choosing:
- Driving Circuit Compatibility – If your design uses low-side drivers, CA is usually more convenient; for high-side drivers or direct MCU outputs, CC may be simpler.
- Power Efficiency – Both types consume similar power, but CC can sometimes reduce component count in simple circuits.
- Component Availability – Some display modules or driver ICs are optimized for a specific type, so availability in your supply chain may influence your choice.
- Application Context – For multiplexed displays or high-digit counts, CA is often selected due to its compatibility with efficient driver ICs.
By understanding these differences, designers can make an informed choice that ensures smooth integration with their PCB layout, power design, and control logic. This decision forms the foundation for driving methods, protection circuits, and advanced techniques explored in the following sections.
How 7-Segment Displays Work
The operation of a 7-segment display is based on the illumination of individual segments. Each segment is an LED, and by selectively lighting these segments, different numbers and characters can be displayed.
Segment Control
Each segment in a 7-segment display can be turned on or off independently. By controlling the combination of illuminated segments, various numerals and characters can be formed. For instance:
- The numeral ‘8’ is formed by illuminating all seven segments.
- The numeral ‘1’ is formed by illuminating only segments ‘b’ and ‘c’.
Driving a 7-Segment Display
Driving a 7-segment display involves applying the appropriate voltage to each segment. This can be done using a microcontroller or a dedicated driver IC. The choice between common anode and common cathode displays affects the driving method:
- Common Anode: The common anode is connected to the power supply, and the segments are controlled by connecting their cathodes to ground through current-limiting resistors.
- Common Cathode: The common cathode is connected to ground, and the segments are controlled by connecting their anodes to the power supply through current-limiting resistors.
Design Considerations for 7-Segment Displays in PCBs
When designing PCBs with 7-segment displays, several critical considerations ensure optimal performance, readability, and reliability.
Power Management and Supply Design
Effective power management is crucial for the stable operation of 7-segment displays. This involves designing a robust power supply to handle the display’s current requirements, including selecting suitable voltage regulators and capacitors to mitigate voltage spikes and noise. Use current-limiting resistors to protect the LEDs from excessive current, ensuring they operate within safe limits.
Signal Integrity and PCB Layout
Maintaining signal integrity is vital for accurate display operation. Minimize noise and interference in control signals through careful PCB layout, which includes optimal component placement, signal routing, and grounding techniques. Proper design minimizes crosstalk and electromagnetic interference (EMI), ensuring reliable performance.
Protection Circuits and Component Selection
Incorporate protection circuits to safeguard against overcurrent, overvoltage, and electrostatic discharge (ESD). Overcurrent protection circuits limit the current through LEDs, while ESD protection circuits prevent damage from static electricity. Choose LEDs with appropriate forward voltage and current ratings, considering brightness and viewing angles for optimal visibility. Driver ICs simplify control by handling multiplexing and current regulation, enhancing the display’s performance and reliability.
Advanced Techniques in 7-Segment Display Design
Multiplexing for 7 Segment Displays
Multiplexing is a sophisticated technique used to reduce the number of control lines required to drive multiple 7 segment displays. By sequentially activating each display, multiplexing minimizes the number of microcontroller pins needed and lowers power consumption, enhancing overall efficiency.
Where it’s used: Multiplexing is common in multi-digit displays such as digital clocks, calculators, and meters where space and pin count are limited.
PWM for 7-Segment Display Brightness Control
Pulse Width Modulation (PWM) is crucial for controlling the brightness of 7-segment displays. By varying the duty cycle of the driving signal, PWM allows dynamic brightness adjustment based on ambient light or user preferences, improving visibility and user experience.
Where it’s used: PWM is especially useful in consumer electronics and automotive dashboards where lighting conditions change frequently.
Software Algorithms for 7 Segment Displays
Advanced software algorithms significantly enhance the functionality of 7 segment displays. Error-checking algorithms ensure accurate display by detecting and correcting errors in real-time. Additionally, dynamic display adjustments based on input data improve readability and user interaction, making the display more responsive and user-friendly.
Where it’s used: These algorithms are often applied in industrial and medical equipment where accuracy, reliability, and user-friendly interaction are critical.
Implementing Error Checking and Dynamic Adjustments
Incorporating error-checking algorithms in 7 segment displays ensures precise information display by real-time detection and correction of errors. Software-driven dynamic adjustments adapt the display to varying input data, optimizing readability and enhancing the overall user experience. These advanced techniques collectively elevate the performance and efficiency of 7 segment displays.
Where it’s used: Common in safety-critical systems like medical monitors, aviation instruments, or industrial controllers where real-time accuracy is vital.

7 segment display pinout
Practical Applications of 7-Segment Displays
Consumer Electronics: 7-segment displays are widely used in consumer electronics for displaying numerical information. Digital clocks and kitchen appliances use 7-segment displays to show time and settings clearly.
Industrial Instruments: In industrial instruments, 7-segment displays provide robust and clear numerical readouts for various parameters. Multimeters and control panels use 7-segment displays to show measurements and status indicators.
Medical Devices: Medical devices use 7-segment displays for critical readouts due to their simplicity and reliability. Blood pressure monitors and glucose meters display readings on 7-segment displays for easy interpretation.
Automotive Dashboards: Automotive dashboards use 7-segment displays for speedometers, fuel gauges, and other indicators. Older vehicle dashboards often use 7-segment displays for speed and mileage readouts.
Future Trends in 7-Segment Display Technology
IoT Integration and Smart Connectivity
The convergence of 7-segment displays with the Internet of Things (IoT) is expanding their role beyond traditional numeric readouts. IoT-enabled displays allow:
-
Remote monitoring and control of devices in real time.
-
Dynamic updates from cloud-based systems, enhancing user interaction and device management.
-
Seamless integration with wireless communication modules for smart appliances and industrial systems.
Advanced Materials and OLED Adoption
The introduction of organic LEDs (OLEDs) and other advanced materials is reshaping performance standards:
-
Improved efficiency with lower power consumption.
-
Better brightness control through precise current regulation.
-
Enhanced readability with higher contrast ratios and wider viewing angles, even in challenging environments.
AI and Machine Learning Applications
Artificial intelligence (AI) and machine learning (ML) are redefining how displays adapt and maintain reliability:
-
Predictive maintenance – forecasting potential failures before they occur.
-
Proactive scheduling – optimizing service intervals and reducing downtime.
-
Adaptive settings – ML algorithms adjust brightness, refresh rates, and power consumption automatically based on environmental and user conditions.
Conclusion
7 segment displays are a fundamental component in various applications, from consumer electronics to industrial instruments. Understanding their types, functionalities, and design considerations is crucial for developing efficient, reliable, and high-performance display systems. By leveraging advanced techniques and staying abreast of future trends, professionals in the field can create innovative solutions that meet the evolving demands of modern technology.
Designing PCBs with 7 segment displays is a complex but rewarding endeavor, requiring a deep understanding of electronics, power management, and control systems. With the knowledge and insights provided in this comprehensive guide, designers can confidently tackle the challenges of 7-segment display design and develop cutting-edge solutions that drive the future of technology.
At Highleap Electronics, we specialize in PCB manufacturing and assembly services that support projects involving 7-segment displays and beyond. Whether you need prototypes, high-volume production, or customized PCB solutions, our engineering team can help bring your designs to life with reliability and cost-effectiveness.
FAQs
1. What are the advantages of using a 7 segment display over other types of displays?
7-segment displays are cost-effective, easy to interface with microcontrollers, and consume relatively low power. They provide clear, legible numerical readouts, making them ideal for applications requiring simple numeric display, such as digital clocks, counters, and low-cost embedded systems.
2. How do I choose between common anode and common cathode 7 segment displays?
The choice depends on your driving circuit design. Common anode vs common cathode 7-segment displays is a frequent consideration for beginners:
- Common anode displays are easier to interface with low-side drivers and transistor-based switching circuits.
- Common cathode displays are suitable for high-side drivers and direct microcontroller outputs (Arduino, Raspberry Pi, STM32, etc.).
3. What are the common failure modes of 7-segment displays, and how can they be mitigated?
Typical issues include segment burnout due to overcurrent, loose wiring in breadboard projects, and ESD damage.
Mitigation strategies:
- Use current-limiting resistors in all 7-segment display circuits.
- Add ESD protection when designing PCB layouts for 7-segment modules.
- For Arduino or DIY projects, double-check pinout connections to avoid reverse polarity damage.
4. How can I improve the brightness and visibility of my 7-segment display in different lighting conditions?
- Apply Pulse Width Modulation (PWM) for dynamic brightness control.
- Select LEDs with high luminous intensity for outdoor or automotive use.
- Add anti-glare coatings or diffusers in consumer electronics.
- For industrial and medical devices, use constant-current drivers for 7-segment displays to ensure consistent brightness across all segments.
5. What are the key considerations for integrating 7-segment displays with IoT devices?
- Low-power consumption with efficient LEDs.
- Reliable wireless connectivity for real-time data updates.
- Microcontroller compatibility (ESP32, ESP8266, STM32) for cloud-based monitoring.
- PCB design that supports remote display control and diagnostics.
6. Can I connect a 7-segment display directly to Arduino or Raspberry Pi?
Yes, but the method depends on whether you are using a common anode or common cathode display:
- For Arduino, you can connect each segment through current-limiting resistors and control them via digital pins.
- For multiple digits, use a 7-segment driver IC (like MAX7219) to simplify wiring and enable multiplexing.
- Raspberry Pi projects often use libraries that simplify controlling 7-segment display circuits through GPIO.

Related Articles
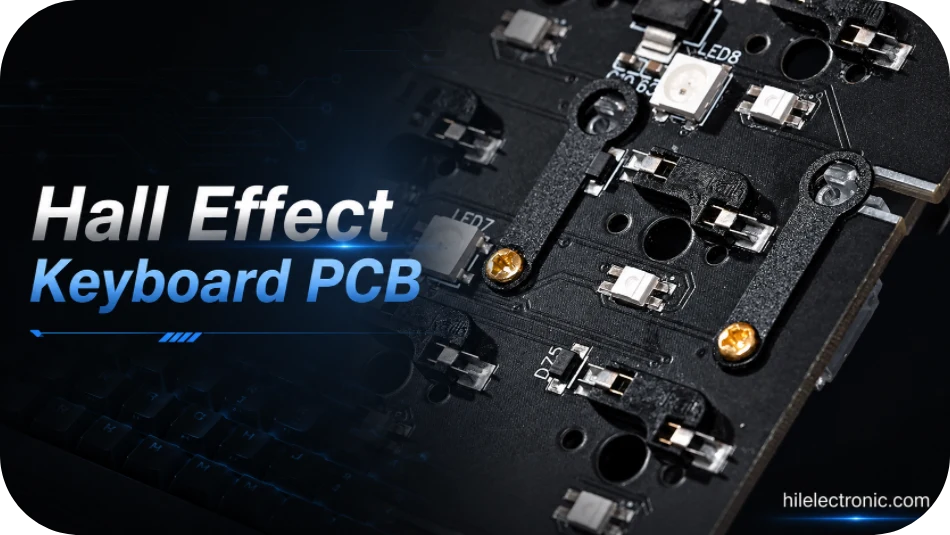
Hall Effect Keyboard PCB Manufacturing & PCBA
Table of contentsHall Effect Keyboard PCB Buying...
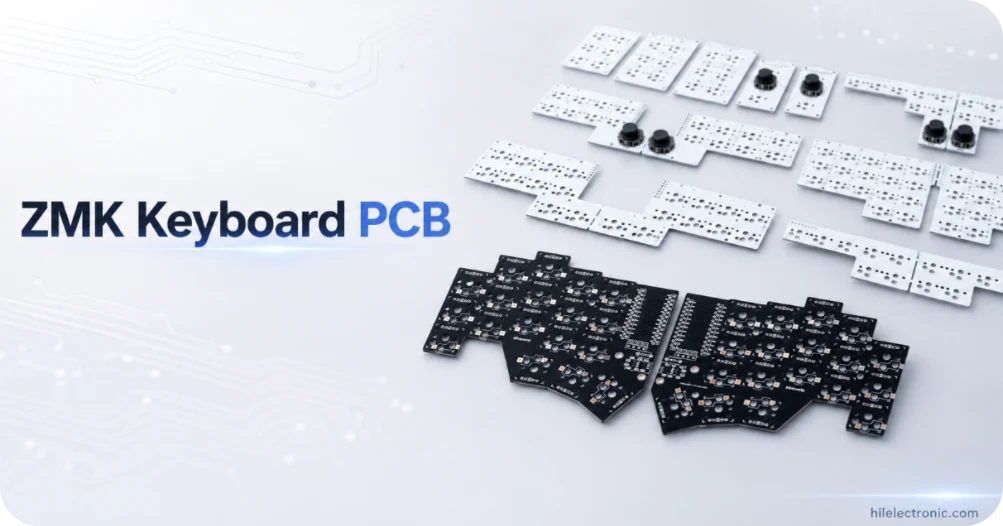
ZMK Keyboard PCB Manufacturing & Assembly
Table of contentsZMK Wireless Keyboard PCBA Procurement...
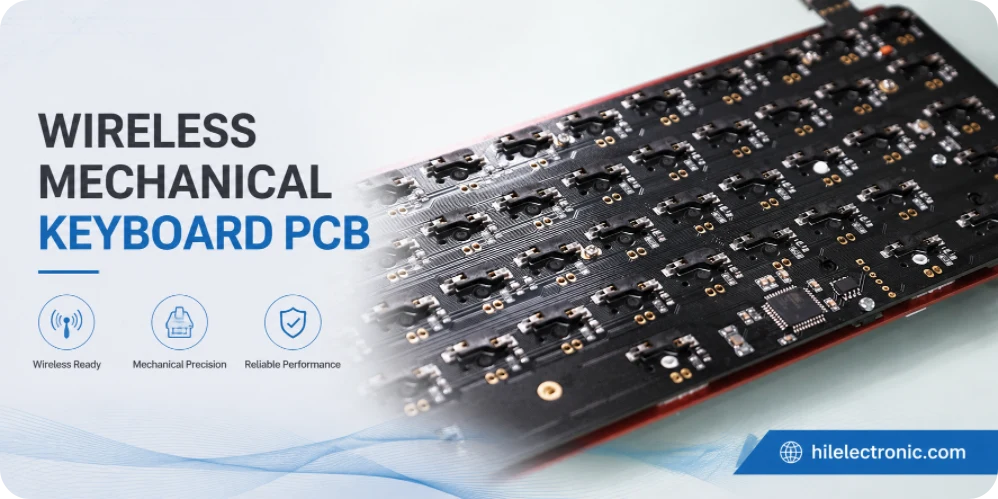
Wireless Mechanical Keyboard PCB Manufacturing
Table of contentsWireless Keyboard PCB Procurement...
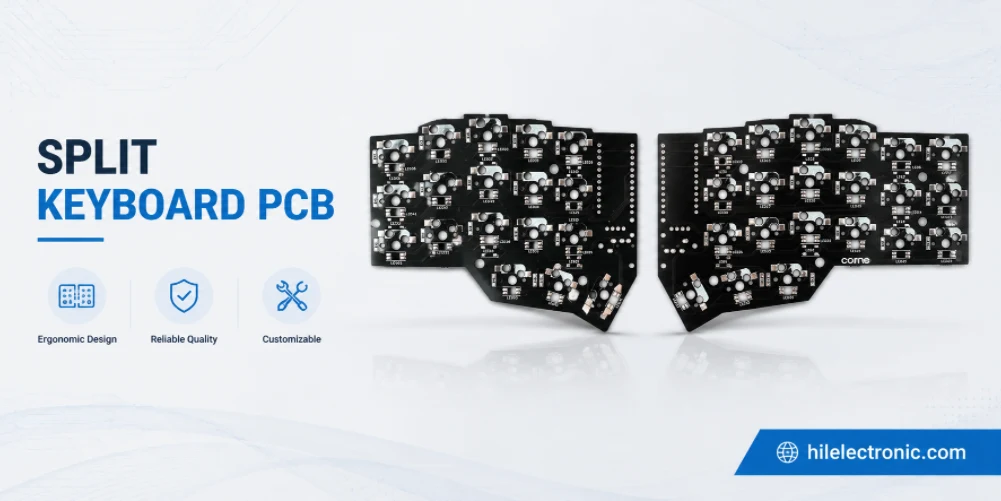
Split Keyboard PCB Manufacturing & Assembly
Table of contentsSplit Keyboard PCBA Procurement...
How to get a quote for PCBs
Let us run DFM/DFA analysis for you and get back to you with a report.
You can upload your files securely through our website.
We require the following information in order to give you a quote:
-
- Gerber, ODB++, or .pcb, spec.
- BOM list if you require assembly
- Quantity
- Turn time
In addition to PCB manufacturing, we offer a comprehensive range of electronic services, including PCB design, PCBA (Printed Circuit Board Assembly), and turnkey solutions. Whether you need help with prototyping, design verification, component sourcing, or mass production, we provide end-to-end support to ensure your project’s success. For PCBA services, please provide your BOM (Bill of Materials) and any specific assembly instructions. We also offer DFM/DFA analysis to optimize your designs for manufacturability and assembly, ensuring a smooth production process.