
How to Clean Rust Off Circuits: A Comprehensive Guide

Rust on electronic circuits can be a serious problem, potentially causing short circuits, signal degradation, and component failure. This guide provides a thorough, step-by-step approach to cleaning rust off circuits effectively and safely, covering both common methods and advanced techniques.
Understanding Rust on Circuits
Before diving into cleaning methods, it’s crucial to understand what rust is and how it affects circuits:
-
What is rust? Rust is iron oxide, formed when iron or iron alloys are exposed to oxygen and moisture. It can appear on circuits with iron-containing components or copper traces contaminated with iron particles.
-
Why is rust problematic?
- Increases electrical resistance
- Causes intermittent connections
- Leads to short circuits
- Physically damages components and traces
Prevention is Key
The best way to manage rust is to prevent its formation by storing electronics properly in controlled environments. However, if rust does occur, prompt and careful cleaning is essential to maintain circuit functionality.
Preparation and Safety
Before cleaning rust off circuits, consider these important safety measures:
- Disconnect power: Always ensure the circuit is completely disconnected from any power source.
- Static precautions: Use an anti-static wrist strap and work on an ESD-safe surface to prevent electrostatic discharge.
- Ventilation: Work in a well-ventilated area, especially when using chemical cleaners.
- Personal protection: Wear gloves, safety glasses, and a dust mask to avoid exposure to chemicals and particles.
- Documentation: Take clear photos of the circuit before cleaning for reference.
- Identify sensitive components: Be aware of fragile parts that may need extra care during cleaning.
Conventional Methods for Removing Rust from Printed Circuit Boards
1. Dry Brushing
Tools: Soft-bristled brush (e.g., toothbrush), compressed air
Process:
-
- Gently brush the rusted areas with a soft-bristled brush.
- Use compressed air to blow away loose particles.
- Repeat as necessary.
Pros: Safe for most components, no chemicals involved
Cons: May not remove stubborn rust
2. Isopropyl Alcohol Cleaning
Tools: 99% isopropyl alcohol, soft brush, lint-free cloth
Process:
-
- Apply alcohol to the rusted area with a brush or cloth.
- Gently scrub the area.
- Allow the alcohol to evaporate completely.
Pros: Effective for light rust, safe for most components
Cons: May not remove heavy rust
3. Vinegar Solution
Tools: White vinegar, water, soft brush, lint-free cloth
Process:
-
- Mix equal parts white vinegar and water.
- Apply the solution to the rusted areas with a brush.
- Let it sit for 5–10 minutes.
- Gently scrub and wipe clean with a damp cloth.
- Dry thoroughly with compressed air.
Pros: Effective for moderate rust, readily available
Cons: Acidic nature may damage some components if not used carefully
4. Baking Soda Paste
Tools: Baking soda, water, soft brush, lint-free cloth
Process:
-
- Make a paste with baking soda and a small amount of water.
- Apply the paste to rusted areas.
- Let it sit for 15–20 minutes.
- Gently scrub with a soft brush.
- Clean off with isopropyl alcohol and dry thoroughly.
Pros: Effective for moderate rust, non-toxic
Cons: Can be messy, requires thorough cleaning afterward
5. Electrolysis Rust Removal
Tools: Plastic container, washing soda, distilled water, battery charger, sacrificial anode (e.g., stainless steel), wire
Process:
-
- Mix washing soda with distilled water in the container.
- Connect the negative terminal of the charger to the rusted circuit board.
- Connect the positive terminal to the sacrificial anode.
- Submerge both in the solution, ensuring they don’t touch.
- Run a low current through the setup for several hours.
- Remove, rinse thoroughly, and dry.
Pros: Highly effective for severe rust, no scrubbing required
Cons: Requires careful setup, not suitable for sensitive components
6. Ultrasonic Cleaning
Tools: Ultrasonic cleaner, specialized electronics cleaning solution
Process:
-
- Fill the ultrasonic cleaner with the solution.
- Place the circuit board in the cleaner.
- Run the cleaner for 5–10 minutes.
- Remove, rinse with distilled water if necessary, and dry thoroughly.
Pros: Effective for hard-to-reach areas, gentle on components
Cons: Requires specialized equipment, may not work on severe rust
7. Laser Rust Removal
Tools: Laser cleaning system (typically found in professional settings)
Process:
-
- Set up the laser cleaning system according to manufacturer instructions.
- Carefully target rusted areas with the laser.
- The laser vaporizes the rust without damaging the underlying material.
Pros: Precise, no chemicals involved, effective for stubborn rust
Cons: Expensive equipment, requires trained operation
8. Vapor Phase Derusting
Tools: Volatile corrosion inhibitor (VCI) chamber
Process:
-
- Place the rusted circuit in the VCI chamber.
- VCI chemicals vaporize and form a protective layer on metal surfaces, displacing rust.
- Leave for several hours to days, depending on severity.
- Remove and gently clean any residue.
Pros: Non-invasive, ideal for complex geometries
Cons: Requires specialized equipment, time-consuming
9. Citric Acid Treatment
Tools: Citric acid powder, warm water, container, soft brush
Process:
-
- Dissolve citric acid in warm water (about 1 tablespoon per cup of water).
- Submerge the rusted areas in the solution.
- Let it sit for 1–3 hours, checking periodically.
- Gently scrub with a soft brush.
- Rinse thoroughly with distilled water and dry completely.
Pros: Effective for moderate to heavy rust, less harsh than some acids
Cons: Can be slow, may require multiple treatments
10. Rust Converter Application
Tools: Commercial rust converter, small brush or cotton swab
Process:
-
- Apply a small amount of rust converter to the rusted areas.
- Allow it to react, turning rust black.
- Once dry, remove any residue with isopropyl alcohol.
- Apply a protective coating if desired.
Pros: Converts rust to a stable compound, protects against future rust
Cons: May not be suitable for all electronic components, requires careful application
Post-Cleaning Procedures
After removing rust, follow these essential steps:
- Thoroughly dry the circuit: Use compressed air or a low-temperature oven (max 50°C/122°F) to ensure all moisture is removed.
- Inspect for damage: Check for components or traces damaged by rust.
- Apply protective coating: Consider using a conformal coating to protect against future corrosion.
- Test functionality: Check the circuit to ensure all components and connections are working correctly.
- Prevent rust: Store the circuit in a dry environment, use desiccants, and consider protective cases or coatings for future use.
Conclusion
Cleaning rust off circuits requires a combination of basic methods and advanced techniques, depending on the severity of the rust and the types of components involved. While methods like dry brushing and isopropyl alcohol work well for light rust, advanced techniques like electrolysis, ultrasonic cleaning, or laser rust removal are effective for tougher cases.
Prevention is always better than cure. Proper storage, humidity control, and protective coatings can greatly reduce the likelihood of rust on your circuits. When rust does form, the right cleaning method can restore the circuit and prevent further damage.
By understanding these diverse rust removal techniques, you’ll be well-prepared to maintain your circuits effectively and safely.

Recommended Posts
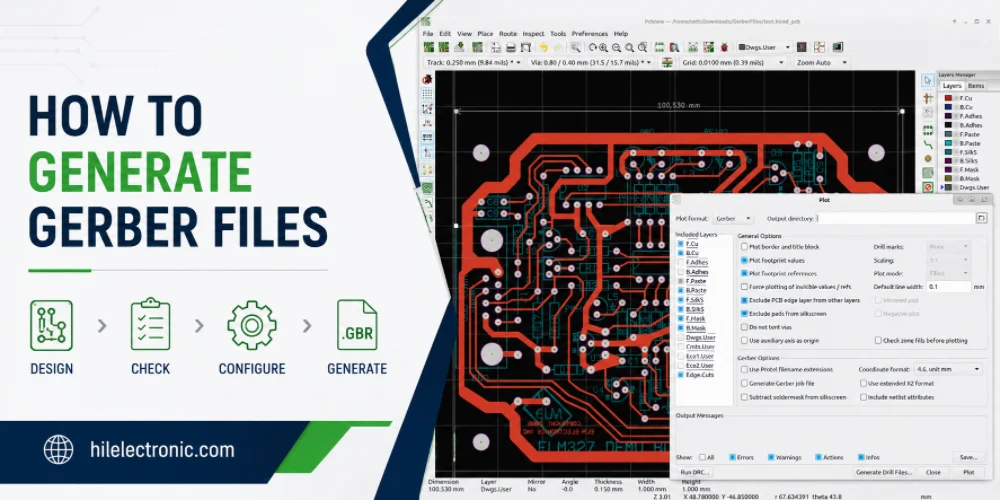
How to Generate Gerber Files for PCB Manufacturing
Figure 1. how to generate Gerber files image for Highleap...
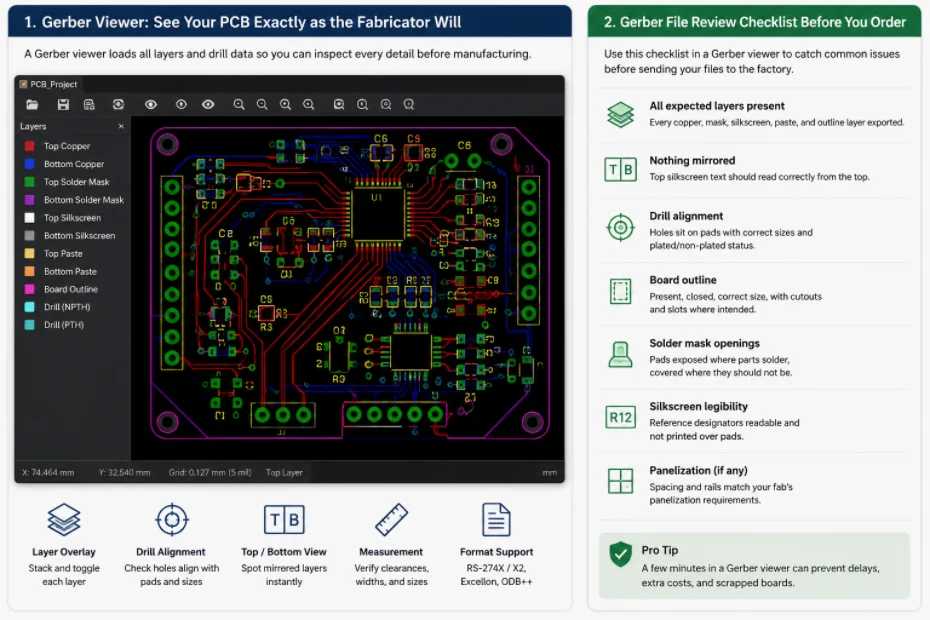
Gerber File Review Checklist: How to Check PCB Files Before You Order
Figure 1. Gerber file review catches missing layers, drill...
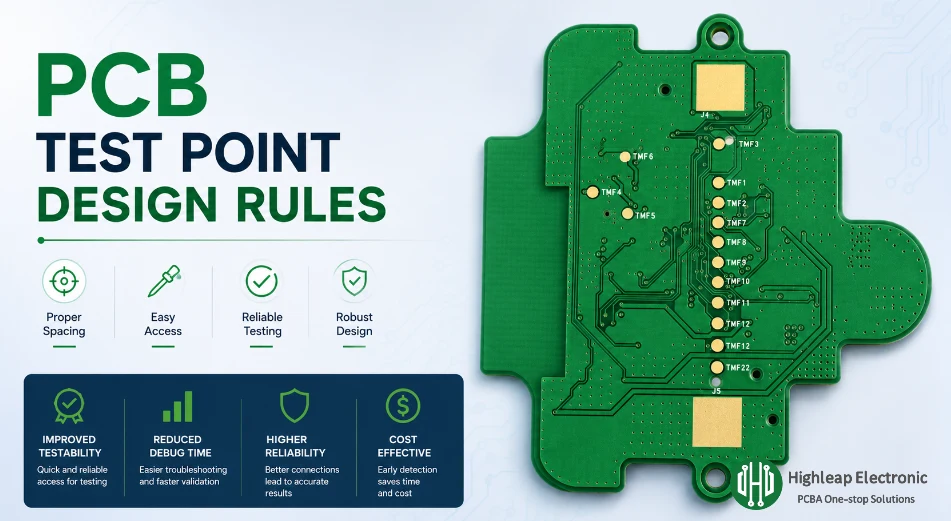
PCB Test Point Design Rules for Debug and ICT
Figure 1. PCB test point design rules help make debugging,...
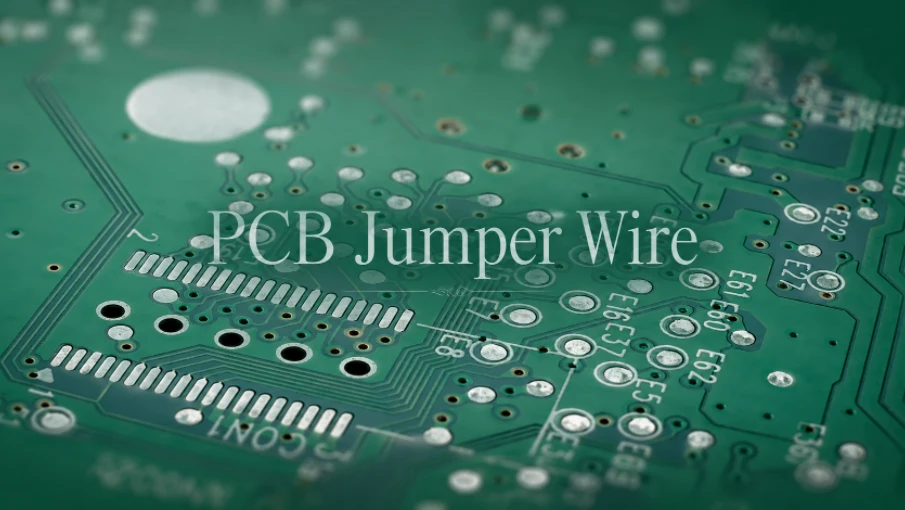
PCB Jumper Wire: Uses, Types, and Design Tips
Figure 1. PCB jumper wires are useful for prototypes and...