
Back to blog
What Are Heat Sinks in PCBs?

A heat sink is a passive cooling component used in PCBs to dissipate heat away from heat-generating electronic components. It plays a vital role in preventing overheating, ensuring that components operate within safe temperature ranges.
Heat sinks in PCB projects should be selected with the board stackup, copper thickness, and component losses in mind; dense power designs may benefit from metal core PCB construction or aluminum PCB manufacturing.
Mechanism of Heat Sinks in PCBs
The primary function of a heat sink is to absorb and disperse heat from high-temperature components to cooler areas, usually the surrounding air. This is achieved through the process of convection. Heat sinks are typically made from metals like aluminum or copper due to their excellent thermal conductivity. The design of a heat sink involves a series of fins or pins, which increase the surface area in contact with air, thereby enhancing the heat dissipation process.
Heat Sinks in PCBs is Important in PCB Design
Heat sinks are vital for thermal management, particularly in high-power and high-density electronic circuits. Effective heat dissipation ensures that components such as CPUs, GPUs, power transistors, and LED lights operate within their safe temperature ranges, preventing thermal runaway and ensuring reliability and performance. Inadequate heat management can lead to component failure, reduced lifespan, and potentially hazardous situations.
- Material Selection: The choice of material affects the heat sink’s thermal conductivity and overall efficiency. Aluminum is commonly used for its balance between cost, weight, and thermal properties, while copper offers higher thermal conductivity but at a higher cost and weight.
- Size and Shape: The size and shape of the heat sink depend on the amount of heat to be dissipated and the available space on the PCB. Larger heat sinks with more fins can dissipate more heat but require more space.
- Fin Design: The design of the fins impacts the rate of heat transfer. Taller fins and those with a larger surface area can dissipate more heat, but also require adequate airflow to be effective.
- Mounting Method: The attachment of the heat sink to the component is crucial for efficient heat transfer. Options include adhesive thermal tapes, epoxy, screws, or clips. The use of thermal interface materials (TIMs) like thermal grease or pads between the component and the heat sink is essential to minimize thermal resistance.
- Airflow Optimization: For a heat sink to work efficiently, there must be adequate airflow around it to carry away the dispersed heat. In some cases, active cooling methods like fans may be used to enhance airflow.
- Thermal Performance Simulation: Using thermal simulation software during the design phase helps in predicting the heat sink’s performance and optimizing its design for the specific application.
When the project moves from research to an RFQ, review transformer PCB integration and overcurrent protection layout so the material, process, and inspection requirements stay aligned.
Common Applications of Heat Sinks in PCB
Heat sinks are widely used in various electronic applications, including:
- Computers and Servers: For cooling CPUs, GPUs, and chipsets.
- Power Electronics: In devices like power amplifiers, converters, and voltage regulators.
- LED Lighting: To manage the heat generated by high-power LEDs.
- Automotive Electronics: In applications such as motor control units and headlight systems.
Conclusion
Heat sinks play a pivotal role in PCB thermal management. By understanding their function, importance, and design considerations, engineers and designers can create more reliable and efficient electronic devices. As technology advances, the need for effective heat management solutions like heat sinks becomes increasingly critical in the electronics industry.

Related Articles
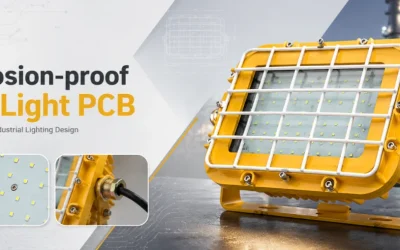
Explosion-Proof LED Light PCBs: Hazardous-Location Boards, Drivers & Assembly
Build explosion-proof LED light PCBs for hazardous-location fixtures, thermal MCPCB engines, potted drivers and surge control boards with Highleap.
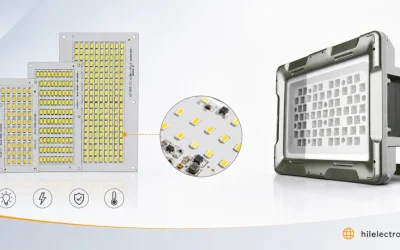
LED Flood Light PCB Manufacturing & Assembly by Highleap Electronics
Build high-power LED flood light PCBs with aluminum MCPCB, COB or SMD assembly, drivers and outdoor controls. Highleap supports MOQ 1 and fast quotes.
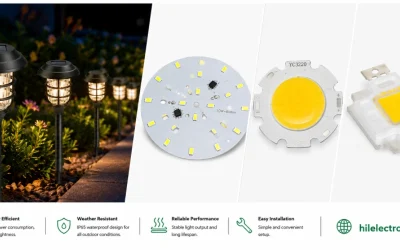
LED Garden Light PCB Manufacturing & Assembly by Highleap Electronics
Manufacture compact LED garden light PCBs, aluminum light engines, solar boards and low-voltage drivers with Highleap turnkey PCB assembly.